Plastering is the process of covering a wall surface with a thin layer of mortar for protection and decorative purposes. It is usually the first stage in the finishing works of a building, and it is categorised under ‘wet works’. The mortar for plaster works comprises of a mixture of fine sand, cement and water. The requirements for mortar and rendering is given in BS EN 998-1:2003.
Download…
A guide to BS EN 998-1 and BS EN 998-2
How to determine the quantity of mortar for laying block
Plastering of a wall is a skilled labour, and requires the services of an experienced mason. Poorly done plastering work can ruin the aesthetics of a building, and lead to high repair/maintenance costs. Plaster surfaces can be made relatively smooth or rough, depending on the next stage finishes to be applied. The typical thickness of plasters ranges from 12 mm to 15 mm. If the thickness of plaster exceeds 15 mm, it will be important to plaster in two coats. Some common plaster defects are:
(1) Cracks
(2) Spalling/falling off of plasters from the wall
(3) Undulating surfaces
(4) Efflorescence
(5) Popping etc
In order to carry out a good plastering job, here are some important steps to follow especially where accuracy is important.
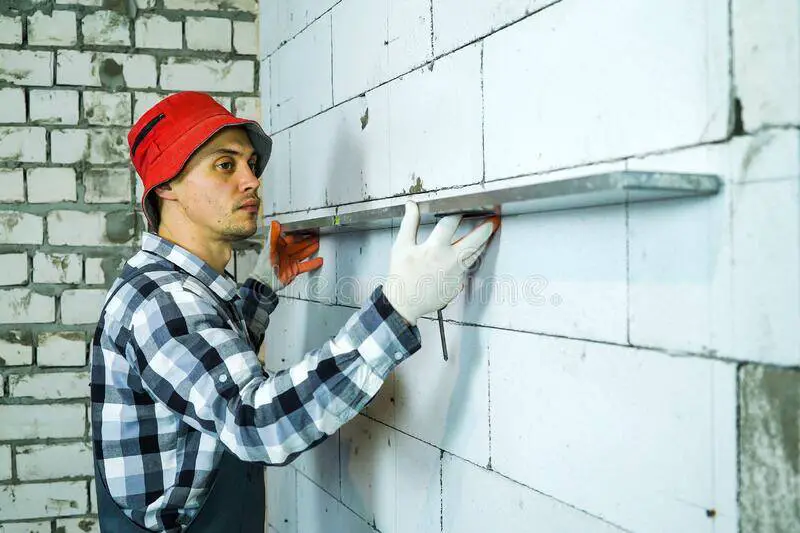
(1) Check for straightness of the wall
Before the commencement of any plastering work, it is important to be very familiar with the wall to be plastered by carrying out simple checks. It is important to check the edges of the wall for squareness, and the length and height for perfect horizontality and verticality. If the walls are in conformity with the construction drawings, then there is no problem. If there are deviations, then know that the thickness of the plastering work will be affected, and that will affect the cost and duration of the work. A decision will have to be taken before the next stage of the plastering work can commence.
(2) Preparation of the surface
It is a good practice to lay blockwork with recessed joints to receive plaster, but this is not always the case. Either way, the walls shall be brushed clean of all dust, thoroughly wetted and surface dried before plaster is applied. If there are bonding agents specified by consultants or manufacturers, then it shall be applied according to the instructions before the plastering can commence. All put-log-holes (i.e. holes left for scaffolding) shall be properly filled in advance of the plastering.
(3) Installation of gauges
To ensure an even thickness and a true surface, gauges of plaster 15 mm x 15 mm, or broken clay tiles set in mortar shall be first established on the entire surface at about 2 metre intervals both vertically and horizontally. The thickness of the plaster specified excludes the key i.e. the grooves or open joints in the block work (if any). The minimum thickness of the plaster over any portion of the surface shall not vary from the specified thickness by more than 3 mm. However, if the wall is not straight, there will be very large variations in the thickness of the plaster. That is why step one is very important.
(4) Material
The specified mortar material in the drawing should be followed to the later. The mix ratio often recommended is 1:3, which means that one bag of 50 kg cement to 6 head pans of plaster sand should be used.
(5) Application of plaster
Plastering of walls shall commence after completion of ceiling plastering if any. The plastering shall be started from the top and worked down towards the floor. Mortar shall be applied between the gauges to slightly more than the require thickness. Furthermore, the plaster shall be well pressed into the joints, levelled and brought to a true surface by working on a straight edge (range) reaching across gauges, with small upward and sideways movement. Finally the surface shall be finished true with a wood float or trowel according to the type of finish required.
If a sandy granular texture is needed (for example plastering to receive wall tiles), the surface shall be wood floated. If a smooth finish is needed, trowelling shall be done to the extent required to produce the desired smoothness.
(6) Finishes
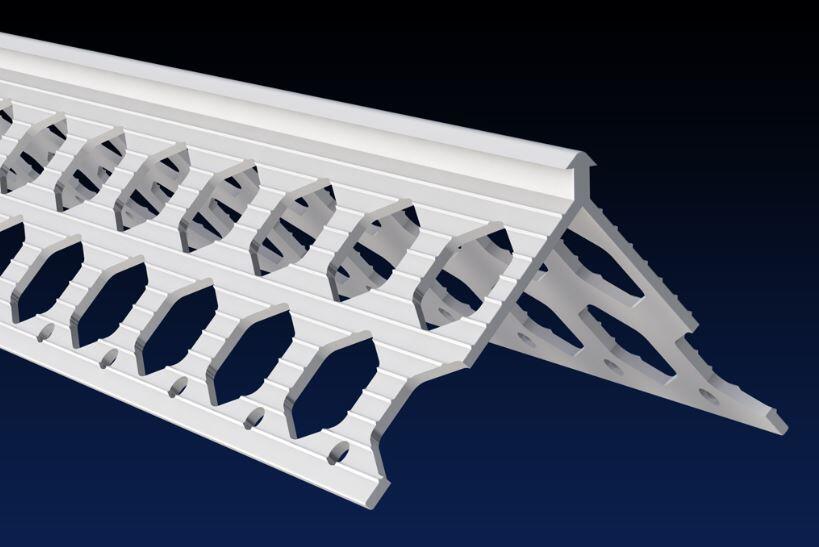
The plaster shall be finished to a true and plumb surface and to the degree of smoothness required. The work shall be tested frequently as the work proceeds with a true straight edge not less than 2.5m long and with plumb bobs. The gap between the straight edge and any point on the plastered surface shall not exceed 3 mm. All horizontal lines and surface shall be tested with a level and all jambs and corners with a plumb bob as the work proceeds. At corners, plastic edge trims (corner angle beads) could be used to avoid wavy edges.
(7) Stopping work at the end of the day
In stopping work at the end of the day, the plaster shall be left cut clean to line both horizontally and vertically. When recommencing the plastering, the edge of the old work shall be scraped, cleaned and wetted before plaster is applied to the adjacent areas, to enable the two to be properly jointed together. Plastering work should be closed at the end of the day on the body of the wall not nearer than 150 mm to any corners or arrises. Horizontal joints in plaster work shall not be formed on parapet tops and copings, as these invariably lead to leakages.
(8) Curing
Curing shall be started 24 hours after finishing the plaster. The plaster shall be kept wet for a period of seven days. During this period it shall be suitably protected for all damages, at the contractor’s expense.

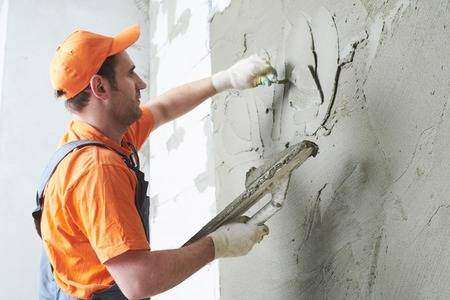








Plastering on cement blocks aloka is an important and specialized work that is very simple in the eyes of the public
Thanks for the reminder that the straightness of the wall is crucial to consider before getting plastering services. I think I will need such services soon because I’d like to have a thin wall to divide one of the larger rooms in my house. I think that will help in making my husband’s and my own work area separate so we wouldn’t distract ourselves much.
Great post! Plastering a block wall is a great way to achieve a smooth and durable finish. Proper surface preparation and applying the right mix are key to a successful job. Thanks for sharing these useful tips!