The characteristic compressive strength of concrete to be used in construction is usually specified in the working drawings, design calculation sheets, and contract documents. The grade of concrete specified is used by bidders/contractors in pricing the job. Therefore, it is expected that it must be achieved on site.
There are different ways of achieving grade 25 concrete on site, and it vary based on each contractor’s experience. This guide is from a personal site experience. If there is no special requirement from the consultants, contractors are usually free to use any acceptable way to achieve the specified grade of concrete.
Normally, trial mixes should be done before the commencement of any project, but experienced contractors are already familiar with the mixes that they have done over and over again unless there is a new consideration to be made. The aim of this article is to show you how you can achieve grade 25 concrete based on site experience only without any technical calculations.
The applicability of this procedure is for low scale – low budget construction where there is no batching plant and sophisticated machines/equipment. If you follow this simple procedure, your concrete cubes for grade 25 concrete will exceed 17 MPa and 25 MPa after 7 and 28 days crushing tests respectively.
To get started, you will need to have the following available:
(1) Trustworthy supervisors
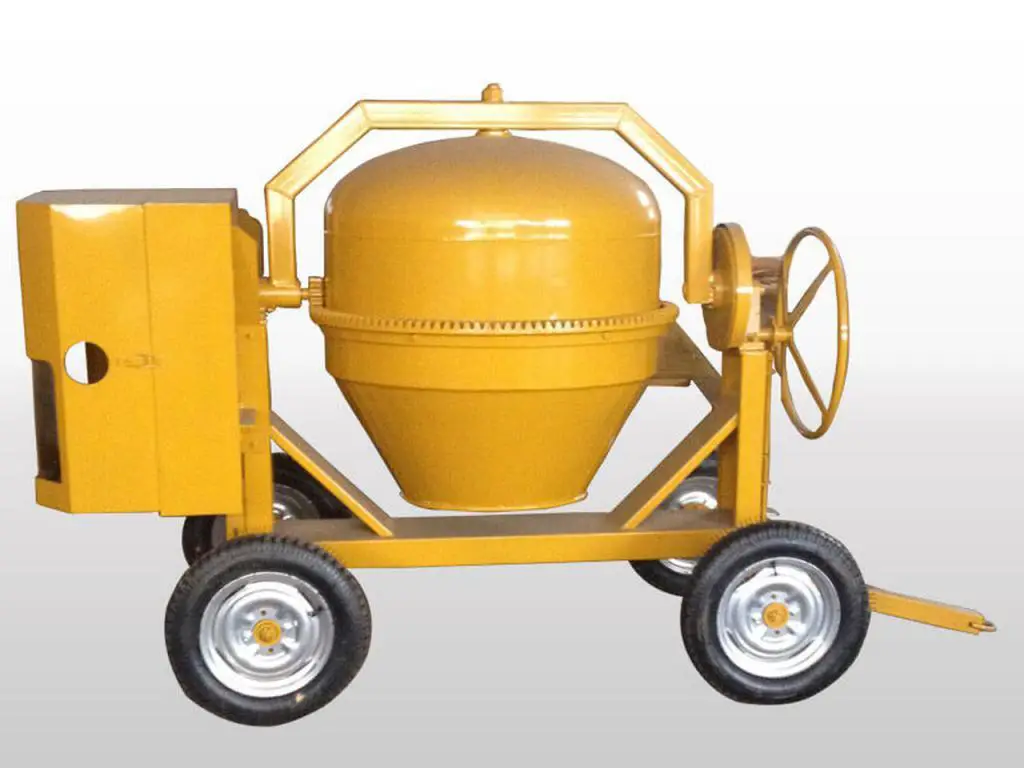
(2) Functional concrete mixer
(3) Functional concrete vibrator/poker
(4) Headpans, 25 litre buckets, and shovels
(5) All materials needed for concrete production – gravel, sand, cement (grade 42.5R), and water
(6) Concrete cube moulds

Steps for Achieving Grade 25 Concrete On-site
Having gotten all materials ready, you can follow the steps outlined below:
(1) Recommended mix ratio
To achieve grade 25 concrete in local construction, I recommend a mix ratio of 1:2½:3½. What this means is that for 1 bag of cement, you add 5 headpans of sand, and 7 headpans of granite. The coarse aggregate that has been verified for this mix proportion is 3/4″ granite (19 mm size aggregate). The sand should be properly graded, and the cement should be sound with a strength grade of 42.5N or 42.5R.
Note: The popular 1:2:4 mix ratio sums up to 7 (that is 1 + 2 + 4 = 7), and the recommended 1:2½:3½ mix ratio also sums up to 7. It has been discovered on site that for 3/4″ granite in a 1:2:4 mix ratio, the quantity of granite usually appears excessive at about 0.4 – 0.6 water/cement ratio, thereby giving workmen difficulty in mixing, placing, and consolidating the concrete.
This leads to the addition of excess water which compromises the strength of the concrete. While this can be taken care of by the use of superplasticizer admixture, low-budget constructions do not normally factor admixtures into the cost. Therefore, by slightly adjusting the sand and gravel content from 2:4 to 2½:3½ respectively, a better workable mix is achieved without any serious consequences.
(2) Water Content
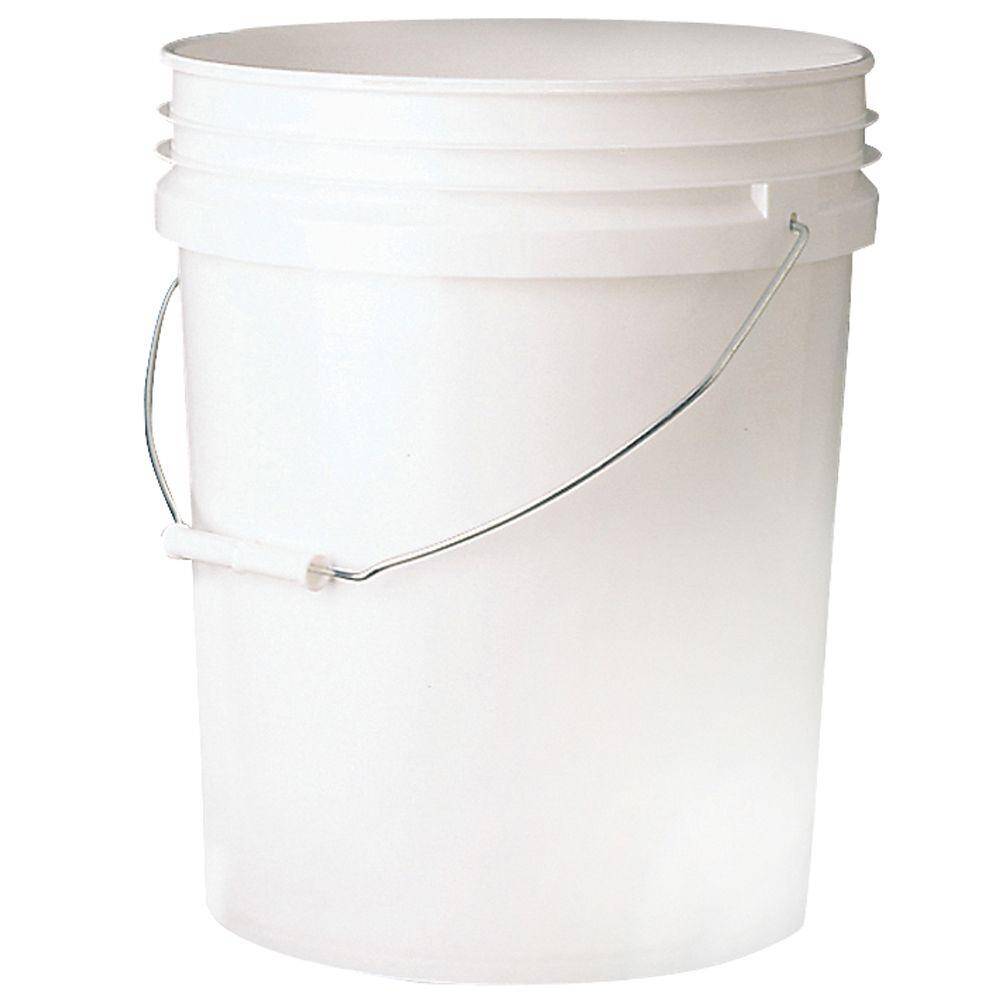
For the mix ratio described above, the quantity of water to be added must not exceed 25 litres. If it exceeds 25 litres, you have deviated from the provisions of this guide for obtaining grade 25 concrete. On-site, you can achieve this by pouring one bucket of water only into the concrete mixer bunker.
There might be grumblings about the workability of the mix from the workmen, but stick to the plan as it will not affect your finished work. If you have a very tight reinforcement arrangement that you need very workable concrete, you might reconsider using this guide. The bucket size recommended for this is the 25 litres empty paint bucket shown in Figure 3. If you get the mix ratio right and add excess water, the test result will fail.
(3) Do not heap the headpans
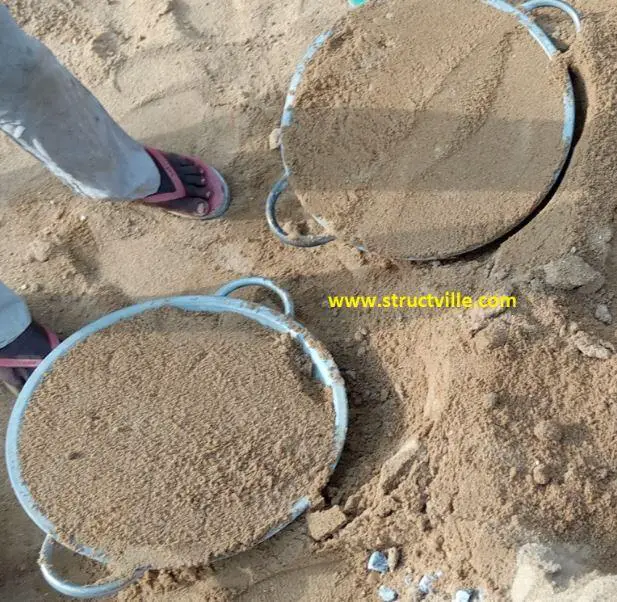
The granite and the sand must not be heaped if you are to achieve grade 25 concrete using this guide. The sand and granite must be made to flush with the top surface of the headpan as shown in Figure 4. If the sand and granite are heaped you have deviated from the provisions of this guide.
(4) Supervision
To achieve steps 1, 2, and 3 above, you need strict supervision and monitoring. First of all, you need a supervisor at the loading points, who must ensure that the granite and sand are not heaped. It is good to have different monitors for sand and granite.
To achieve this, after filling each head pan with sand/gravel, it must be levelled using a shovel or piece of wood before being carried to the bunker. Secondly, you need another supervisor at the bunker to ensure that the correct quantity of sand, granite, and water is being poured in for one bag of cement.

(5) Placement and consolidation
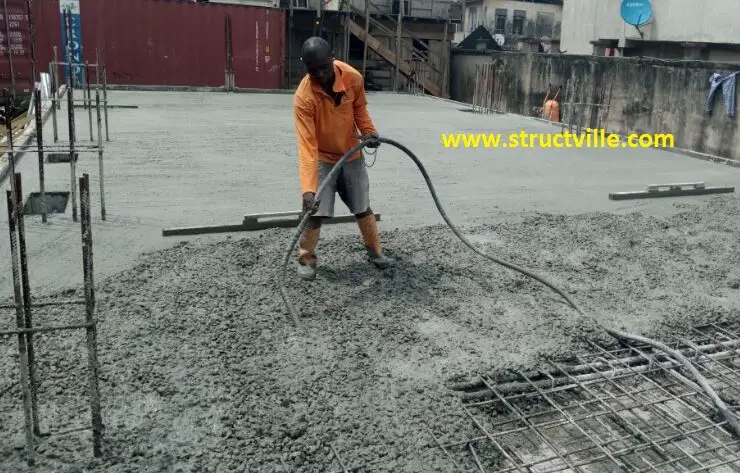
The concrete produced from the mixture should be transported without delay to the required point where it is poured and consolidated using a vibrator/poker. The curing process should also begin as soon as it sets.
(6) Collection of samples for testing
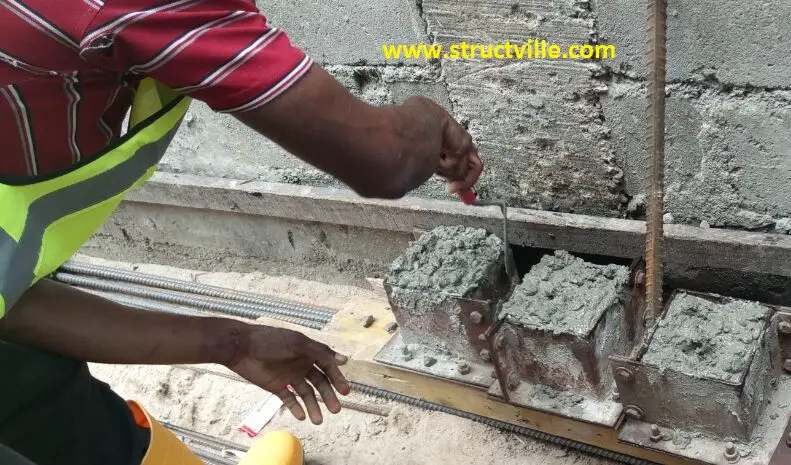
The 150mm x 150mm steel moulds to be used for sample collection should be oiled, and the concrete poured in three layers. Each layer should be subjected to 25 tampings using at least 16 mm diameter reinforcement off-cut. You can do well by hitting the sides of the mould during compaction to ensure proper consolidation.
After filling the moulds and compacting the concrete properly, the surface is leveled and finished smoothly with a trowel. Remove the sample from under the sun (especially in tropics), and cover it with a polyethylene nylon sheet. You can label the sample after about one hour.
Demould the sample the following morning and cure in a clean water tank for the required number of days. 6 or 9 samples might be required for each batch of concreting. However, consultants usually require 7 days and 28 days test results, and an average of 3 cubes should be crushed for each test. In some cases, 14 days’ results might be required.
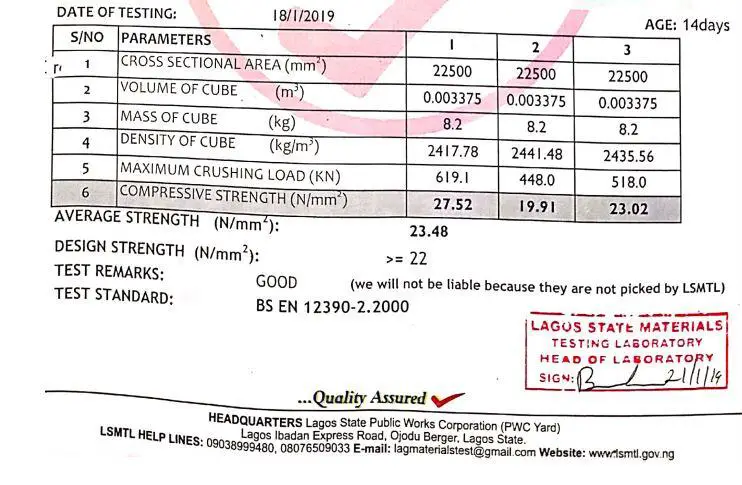
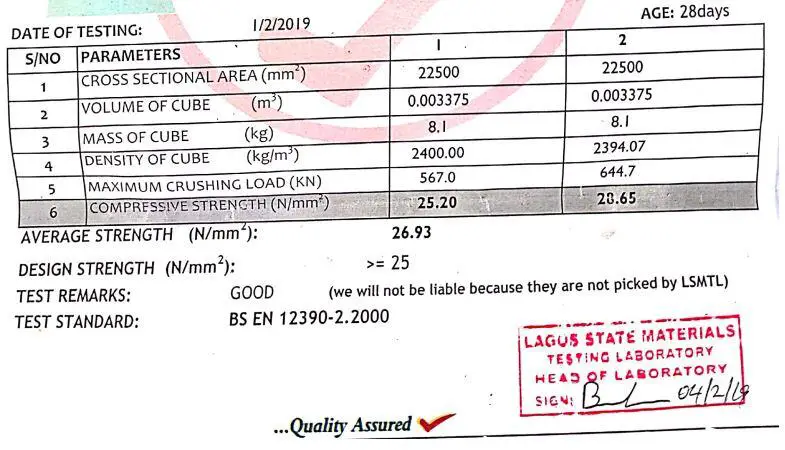
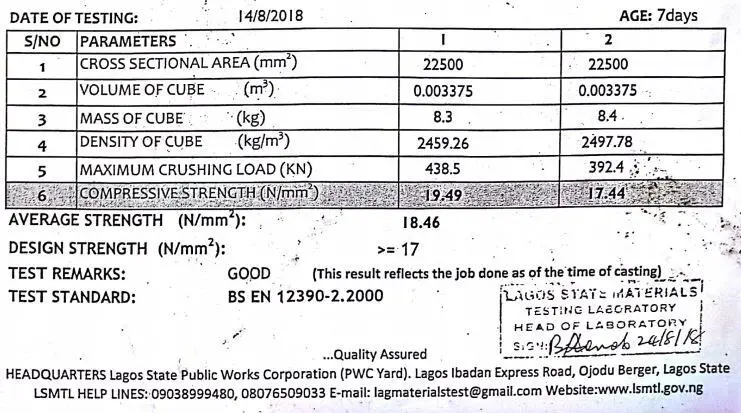
If you have followed these procedures properly, you should get satisfactory results from the laboratory for grade 25 concrete. However, note that this does not substitute for proper concrete mix design where it is required. Find below some laboratory test results from the procedure described above. The target characteristic strength after 28 days was 25 MPa. In one of the cases (Figures 10 and 11), regulatory agencies came by themselves and collected samples from the point of casting, and the result was found satisfactory.




Thanks for your teachings. All keep me posted.
Nice one. Simple, well explained and highly educative. Thanks a zillion
Good write up Engineer! Good representation of theory in practice?
Good teaching on fresh concrete
Very precise and experimental, Nice and educative.. Keep the good work..
Kudos Boss
Good, educative and well delivered. Kudos ✊? to you, Engineer.
More wisdom bro. Thanks for this!
Exactly what I have been looking for. Thank you very much sir!
You are highly welcome
This is splendid
Its really helpful thanks❤❤… Informative post
Where did the 1.54,144,1650 used in the cement,sand and coarse aggregates come from?.Please explain.
This is very Apt… thanks for taking your time.
Thanks so much, the post is very much helpful..pls check the mix ratio,1:2:4 ratio is M15 not M25..pls which of the Mix are you referring to..? Thanks
M15 is Indian standard which is same as C20 for British standards. He’s talking about C25 mix ratio here which would mean M20 for Indian standard…
M15 = C20 = 1:2:4
M20 = C25 = 1:1.5:3
But is actually saying that 1:2.5:3.5 is a more appropriate mix ratio to achieve either C20 or C25 mix ratio on site
What mix will be needed to achieve C20, and from most literary reviews 1:2:4 gives C15
very educated thanks for the good work
nice lesson
It’s absolutely amazing and well explained