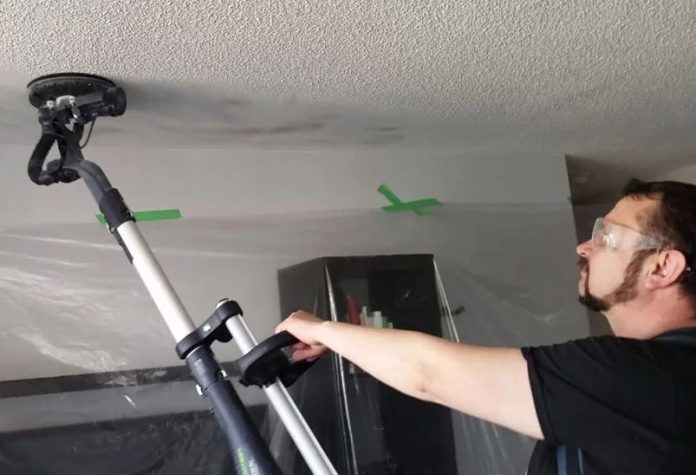
Sanding is something that applies to anyone from woodworkers to those Do It Yourself amateurs, professionals, etc. Regardless of whether one is varnishing furniture surfaces, creating smooth surfaces for painting, or preparing materials for painting, proportions, and kinds of sanding will go a long way in making a piece look smooth, polished, and stylish.
Here is the information on tips for using sanding belts effectively, tools, and the basic ways of using sanding belts.
Why Proper Sanding Matters
Correct surfacing provides uniformity on surfaces, eliminates the formation of blemishes and imperfections, and enhances the surface area for further coating applications. This is done after plastering the wall. Failing to do so will result in an undesired rough surface, worsen the paint, or prematurely fail the varnish.
In addition, sanding can also be economical since it helps eliminate unnecessary chucks quickly, not forgetting that it is also one of the key procedures in woodworking.
Types of Sanding Tools and How to Use Them
Here are some of the most popular sanding tools and tips on when to use each:
Sandpaper:
It refers to an easily portable article that can be used for sanding projects of different sorts. Fine ones were used to polish the surface of the metal, and coarse ones were used to remove the material quickly. When sanding, always sand in the direction of the grain in the wood to avoid scratching the surface.

Sanding Blocks:
Sanding blocks ensure even contact with the workpiece, meaning that no pockmarked area will remain on the workpiece. They are very useful when working on rounded areas or edges. Choose a block made from a hard material since sanding a less rigid block, such as the foam block, may break it.
Orbital Sanders:
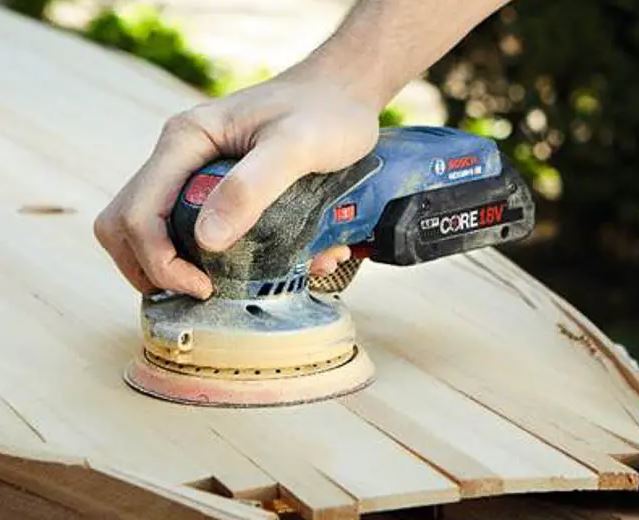
Orbital sanders are large, powerful machines that impart circular motion to surfaces. They are highly efficacious and especially useful for stripping paint, stain, or varnish and smoothing large stock. When using an orbital sander, ensure that you use a steady speed and pressure throughout the entire process.
Belt Sanders:
Belt sanders are intended for rough applications, including cutting away a lot of material or levelling a buckled panel. They employ a portable sanding belt that is curved to match the surface being sanded on the workpiece. A belt sander should be used carefully since it can be very destructive if misused.
Choosing the Right Sanding Belt: A Crucial Step
Sanding belts are popular for belt sanders, offering many grit options. Here’s a breakdown of factors to consider when selecting quality sanding belts:
Grain Size:
Sanding belts can have an increased number of grits, and the higher the number, the better the surface is polished. Sandpapers must be chosen with the right grit for the specific project because if the wrong grit is used, surfaces become uneven, and extra material is removed.
Abrasive Material: A wide range of abrasive materials is available, including aluminum oxide, silicon carbide, or zirconia alumina, depending on the material’s hardness and the finish required for the workpiece.
Belt Width: If you sand the surface using the same belt as the reverse side, eventually, use that to get a uniform surface and finish.
Vitrified or Bonded Belts: The brilliance of vitrified belts is that they are harder. Therefore, they do not wear out easily and can be used in rigorously demanding operations. Compared to unreinforced belts, bonded belts are lighter, more pliant, and, hence, suitable for curved working surfaces and confined spaces.
Belt Tracking: For safety reasons, the belt must be parallel to the sanding surface to avoid any irregular patterns or grooves on the belt surface.
Best Practices for Safe and Effective Sanding
If sanded, safety measures should be observed for dust and debris that might prove dangerous to health. Follow these guidelines for safe and efficient sanding:
Wear Protective Gear: Safety glasses, goggles, dust masks, or respirators protect you from inhaling dust particles. Furthermore, wearing earmuffs may also be beneficial since exposure to the high pitch of sanding machines damages your ears.
Work in a Ventilated Area: Sanding causes dust formation, and since body parts are involved in the sanding process, the dust is very dangerous to your health. Clean and organize your work area in a well-ventilated area when possible, and if not, use an air purification system.
Clean Up Dust Regularly: Dust can collect fast, and sanding becomes very difficult, hence the need to have as smooth a surface as possible. Thus, our responsibility is to make sure that our workspace and tools are clean most of the time, except for accidents that could have been avoided, causing a great hindrance to our tasks and efficiency.
Check Tools and Belts: Check your sanding tools and belts for suitability for use and any signs of wear and tear. Sanding belts should also be changed frequently and suitably to prevent mishaps from happening or getting an unfinished-looking surface.

Common Sanding Mistakes to Avoid
Here are some common mistakes and how to avoid them:
Over-Sanding: In some cases, it may be possible to sand too hard or too much causing the wood fibers to be adversely affected, leading to a bad finish or greater vulnerability to harm. Try to be very careful with grit and pressure to avoid this problem.
Using Incorrect Grits: The wrong selection of grit may lead to poor finishing or excessive material removal. It is always important to select the right grit, and if you need to sand down several layers, use different grits to do the work.
Ignoring Dust Management: If dust is not controlled properly, the resulting coat of paint will also not be even, and there are also health risks attached to excess dust. Always wear dust masks and respirators, install ventilation systems, and clean your workplace and equipment frequently.
Applying Too Much Pressure: Excessive sanding pressure can lead to low surfaces, dings, or digs. So that always implies that there has to be a keep with a regular even pressure as you sand no matter what device you use.
Conclusion
Sanding is an area that woodworkers should learn and practice, irrespective of their experience level. Knowing about the cutting tools, selecting the right grits and materials, and abiding with caution can help you have that perfect surface for any project. But it’s also important not to fall for the most typical mistakes like over-sanding the material or not considering that dust needs to be controlled; this way, you’ll surely get the hang of sanding.

