A helical staircase is a staircase that is curved in plan and following the directrix of a full helix. In three-dimensional space, a helical surface is generated by moving a straight line such that the moving line is perpendicular to the helix.
A helix is a smooth space curve with tangent lines at a constant angle to a fixed axis. The construction of a helical staircase is a fairly challenging process that must be handled with care by the contractor. It is important to note that a helical staircase can be achieved using a variety of materials such as reinforced concrete, steel, or timber.
The aim of this article is to provide guidance on how to successfully construct a reinforced concrete helical staircase using locally available materials and tools.
Read Also…
Design of helical staircase
It is important to note that a reinforced concrete helical staircase can be in two forms;
- Helical staircase with waist, and
- Slabless (saw-tooth) helical staircase
A helical staircase with a waist has a reinforced concrete base slab of 100 – 200 mm thickness supporting the treads and the risers (which are usually unreinforced). The waist slab is the main structural component of the staircase where the rebars are placed. On the other hand, just like a typical sawtooth staircase, a slabless helical staircase does not have a waist slab and the structural component of the staircase are the treads and the risers.
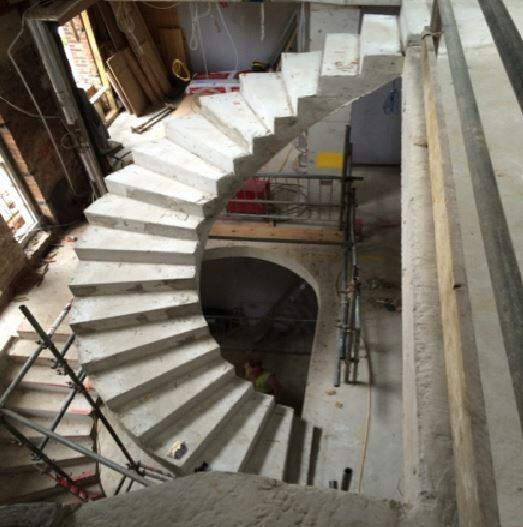
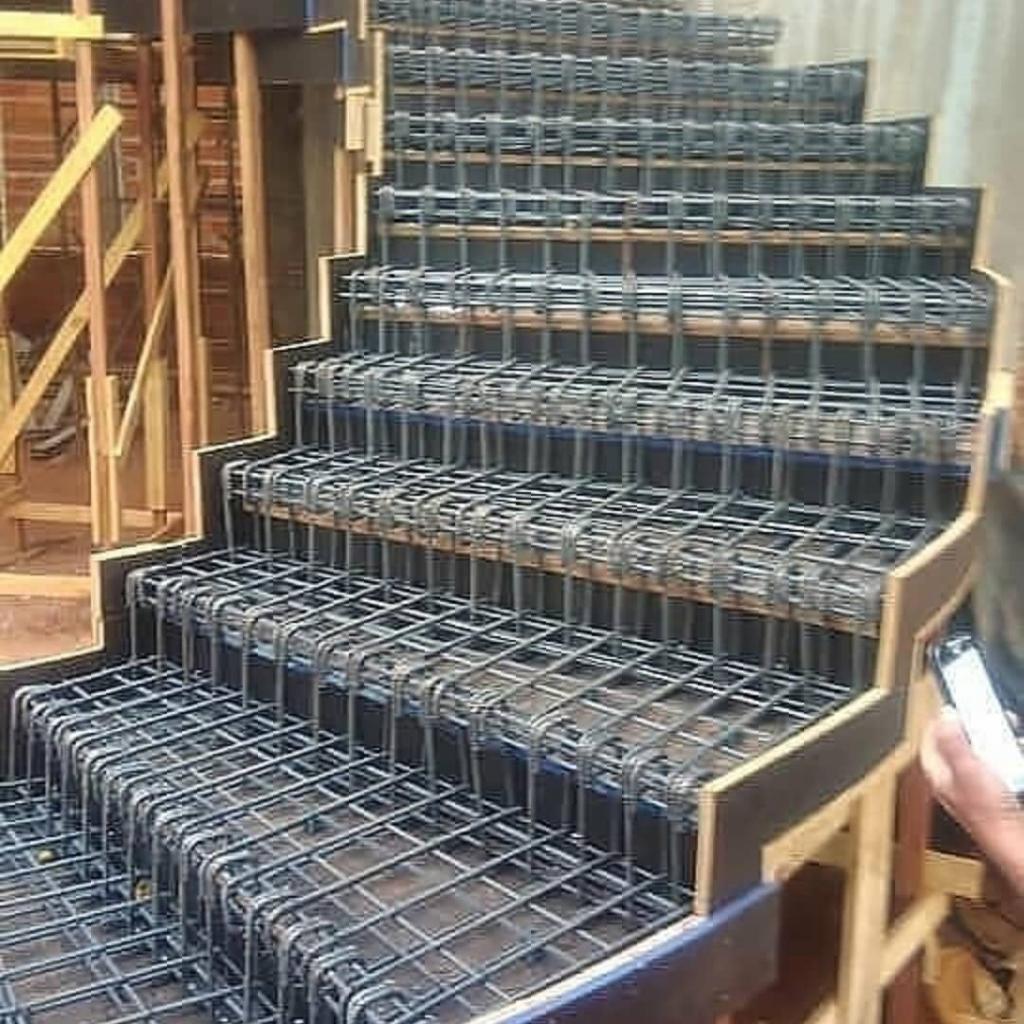
Construction of a Helical Staircase
The construction of these two types of helical staircases present their own different challenges to a contractor, but generally, it is easier to construct a helical staircase with a waist than a slabless helical staircase. The material and construction effort demand is also greater in the latter than in the former. In this article, however, we are going to focus on the construction of a helical staircase with a waist slab.
For someone that is doing a helical staircase for the first time, it is very important to pay attention to the challenges it presents, especially when sophisticated tools are not available for the setting out. First and foremost, it is important to establish the layout of the staircase as given in the drawing.
The drawing should contain the exact number of treads and risers that will be required for the floor height. Other information such as the inner radius and the width of the staircase should also be provided. This is very important because without a proper setting out, it will be very challenging to get the staircase right.
From the drawing, locate the centre of the staircase and make a permanent mark there. Alternatively, you can get a straight and strong timber pole and attach it to a marine plywood (or 1″ x 12″ plank) base that is firmly attached to the floor. Make sure that the wood is plumb in all directions and properly placed at the centre of the curve.
Using the centre of the curve, establish the inner radius of the staircase and plot it on the floor of the building using any suitable tool/material of your choice. The outer radius of the curve can also be established, especially when the sides of the staircase are not attached to any wall.
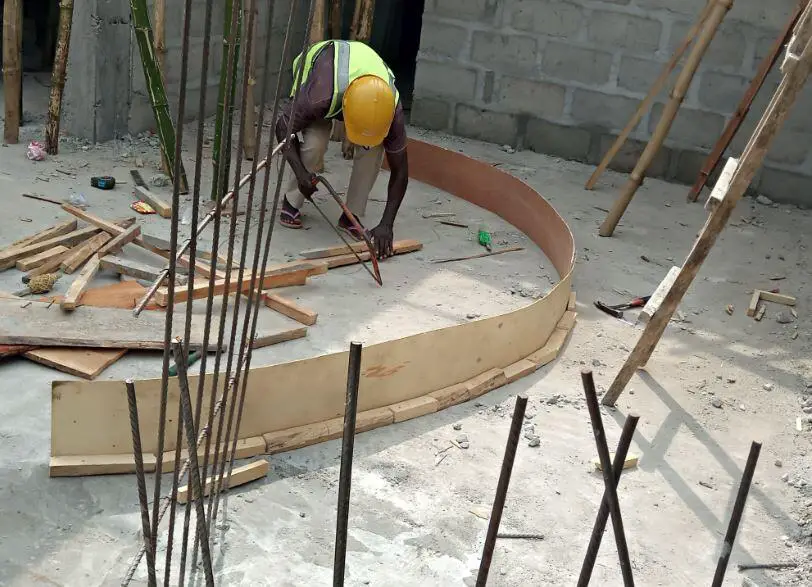
After establishing the curves in plan, you can use 1″ x 12″ or 1″ x 6″ planks (depending on the radius of the curve) that are standing upright to form the lines of the curves and to also establish a temporal wall for markings. The planks should be firmly nailed to the floor of the building using 2″ x 3″ wood and braced properly. The height of the planks should be determined with reference to how the staircase rises. This approach however consumes a lot of material.
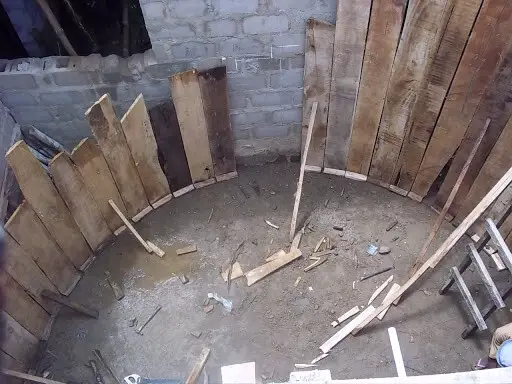
After joining the planks side by side, establish the markings of the staircase (tread and riser) on the planks which serves as a temporal wall. Make sure to establish the thickness of the waist on the planks too.
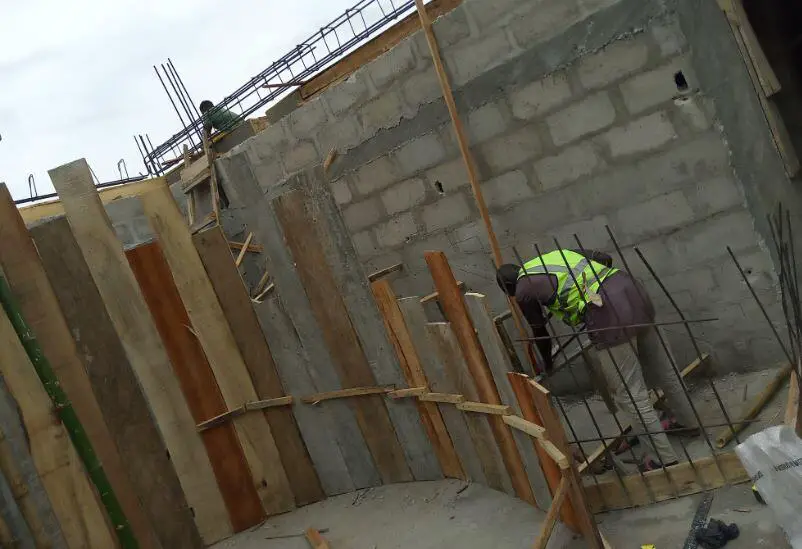
After the markings, insert the stringers and support or brace the formwork with 2″ x 3″ wood. Bamboo or another strong material such as 2″ x 4″ wood can be used as props. The sheating of the staircase (soffit) can then be formed on the framing using suitable plywood. Depending on the configuration, the inner/outer curve of the staircase should be covered with another plywood with the equivalent height of the riser. Alternatively, the markings on the plank can be used if the height is sufficient but this might give a rough edge finish.
After the soffit of the formwork has been installed, the iron bender should neatly install the reinforcements according to the design specifications. The risers of the staircase can be installed by nailing perfectly cut planks to the edges of the inner and outer curves. To get this very well, you can tie a rope to the timber at the centre of the curve which you can easily adjust round it, and use it to trace the line of the plank that will form the riser which lies from the inner radius to the outer radius. Note that the tread is bigger in the outer radius because of a wider circumference/length.
Alternatively, you can prepare your framing by laying the 2”x 6” timber stringers from the central pole to your outer line of shores. The timber stringers should be laid flat on the floor and sawn accurately to dimension. The top elevation of the stringers will be determined by the thickness of the concrete slab and the thickness/arrangement of the formwork.
Once the stringers are complete and checked for position, level, and length, install 2” x 4” timber joists spaced at 400 mm centre to centre. After the stringers and joists are securely fixed in place, proceed with the plywood sheathing, and finally the edge forms. This approach requires knowing the dimensions as accurately as possible and cutting the timber forms properly.
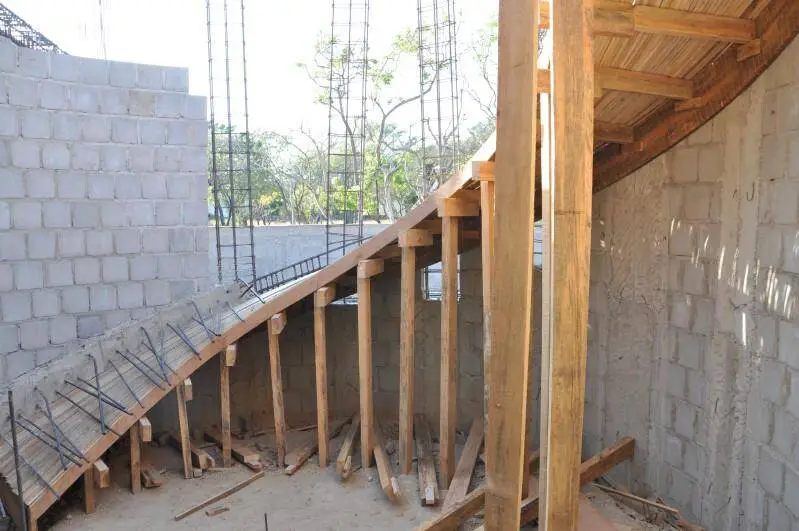
Once the formwork is complete, well secured, and inspected, the next step would be to install the reinforcement. Bars must be cut to the right length and placed neatly in size and spacing according to the construction drawings. Use chairs to maintain the proper clearance to the forms and observe the proper concrete coverage at the bottom of the reinforcing bars.
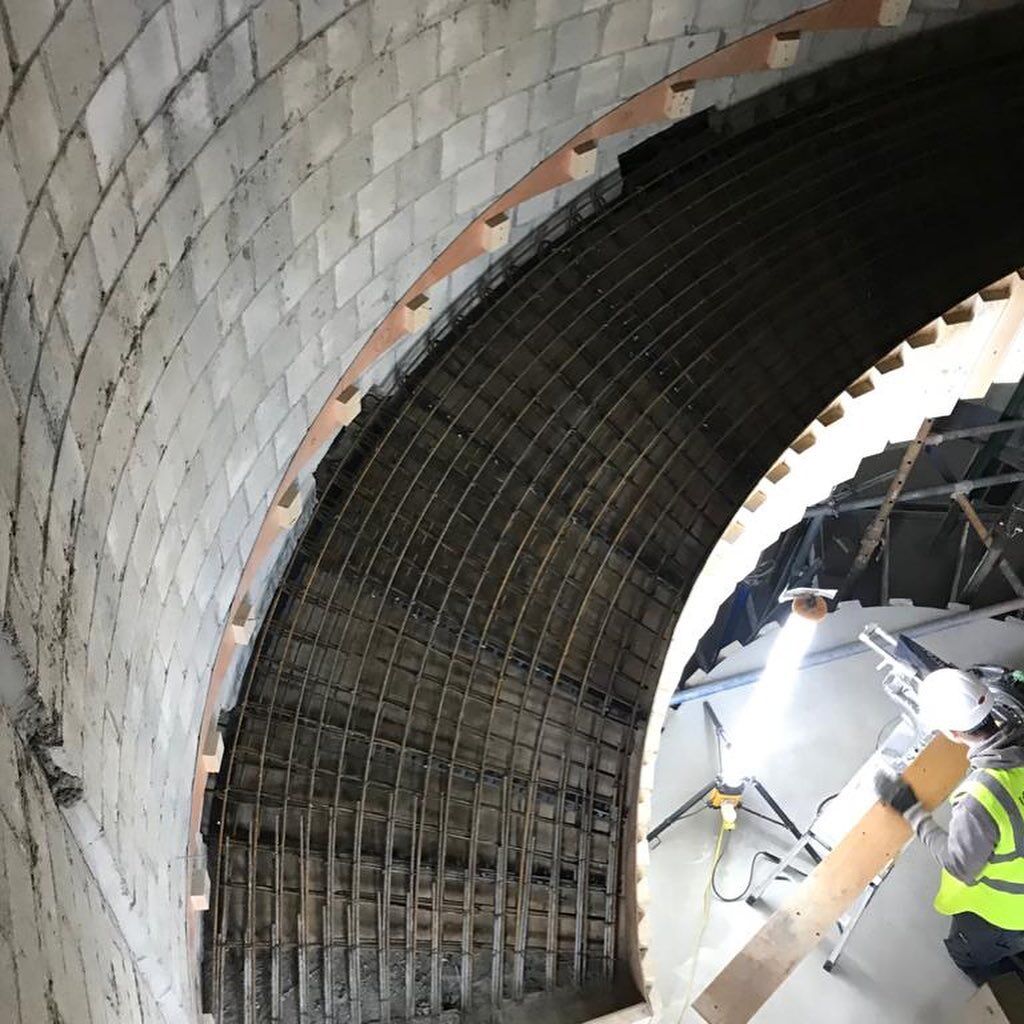
Following the inspection and approval of the reinforcing bar comes the careful preparation for pouring. We recommend a minimum concrete strength of 25 MPa at 28 days. The concrete mix should be properly designed, water content carefully controlled, vibrated, and compacted to its maximum density.
To request for this article or any other Structville article in PDF format, click HERE (premium but very affordable).

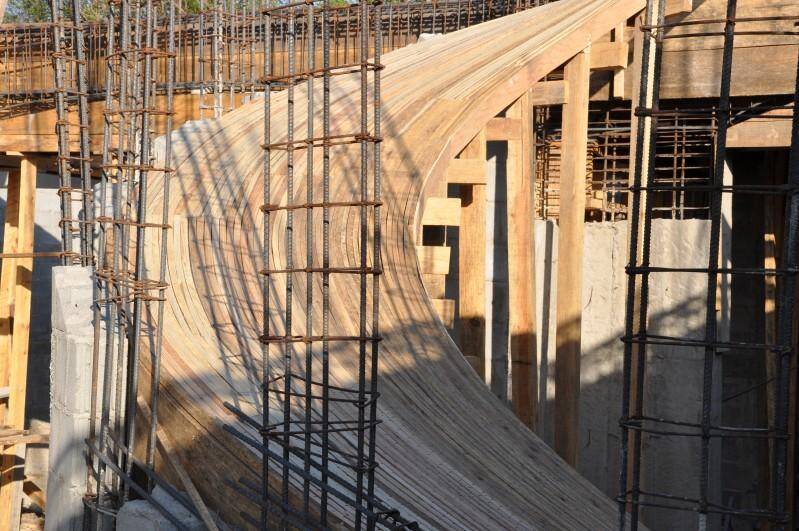








Beautiful stair