Tiles are hard-wearing thin plates that are used for covering walls, floors, roofs, countertops, etc in a building. They can be manufactured from a wide variety of materials such as ceramics, wood, natural stones, baked clays, glass, etc. The process of arranging and laying tiles on a surface is known as tiling. The aim of this article to provide guidelines that must be followed in order to achieve good and quality tiling in a building. This applies to both walls and floors.
Tiles usually provide final finishes to a surface such that the surface no longer requires any additional screeding, plastering, or painting. Therefore, tiles as a final surface finish should be elegant, neatly arranged, beautiful, and durable. As a matter of a fact, the type and quality of tiles installed in a building play a huge role in the final aesthetics of a building.
Read Also …
Cost of tiling a 3 bedroom flat in Nigeria
Tile is a good choice of finish for floors, walls, countertops, etc for a lot of reasons. They come in a variety of colours, shapes, sizes, and quality. This gives architects and interior designers enough flexibility to obtain a balanced and pleasing appearance.
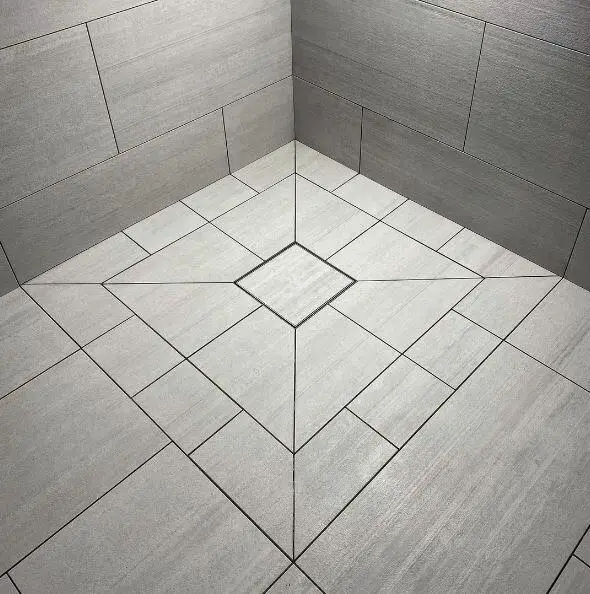
Let us look at the most common types of tiles available;
Ceramic tiles
Ceramic tiles are produced by taking mixtures of clay, earthen elements, powders, and water and pressing them into the desired shape at a high temperature. There are two popular types of ceramic tiles, and they are porcelain and vitrified tiles.
Porcelain tiles
Porcelain tiles are hard, dense, ceramic tiles with low water absorption. The most popular type is the glazed porcelain tiles, even though it may be unglazed. Porcelain tiles can be polished and made to shine without glazing due to their hardness and density. Furthermore, due to their higher density when compared with other tiles, they are usually heavier and more difficult to cut and drill through. Porcelain tiles can be used in dry or wet areas of a building.
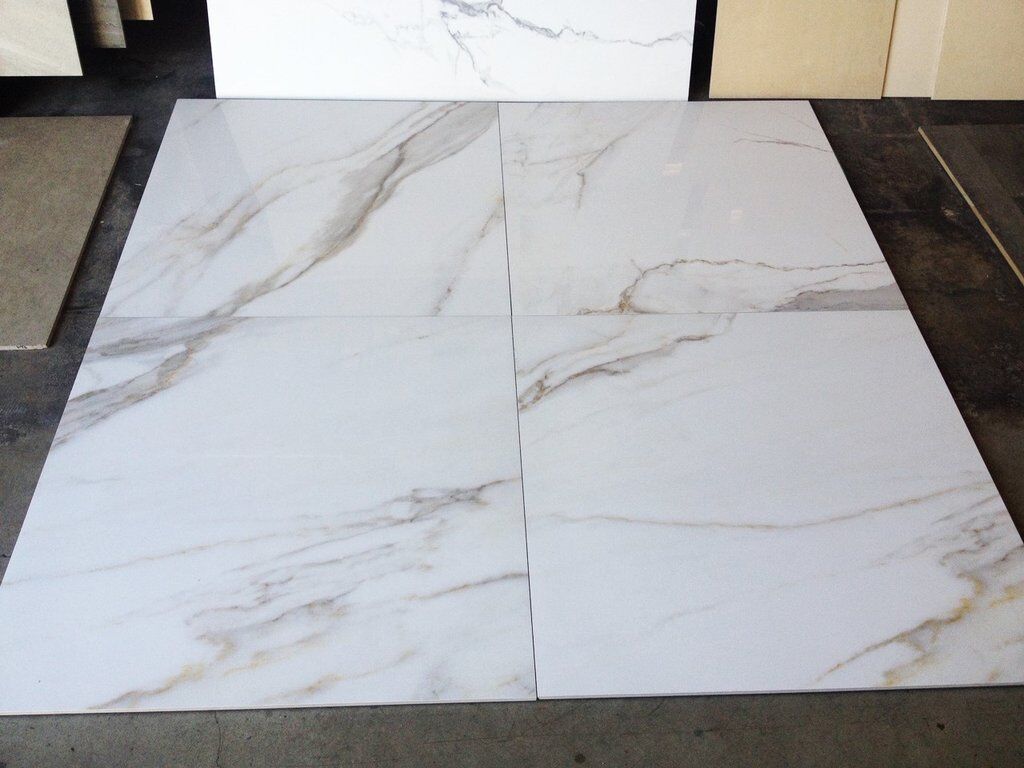
Vitrified tiles
Vitrified tiles are less dense ceramic tiles with higher water absorption. They are produced by the hydraulic pressing of a mixture of clay, quartz, feldspar, and silica, which make the vitreous surface. It however very important that the type of vitrified tile be clearly specified.
Full-body vitrified tiles have the same pigment throughout the entire thickness. Therefore, when the tiles are chipped or begin to wear out, the colour remains the same. Therefore, full-body vitrified tiles are suitable for high traffic areas. Vitrified tiles can also be glazed, with a lot of designs and surface texture printed on them.
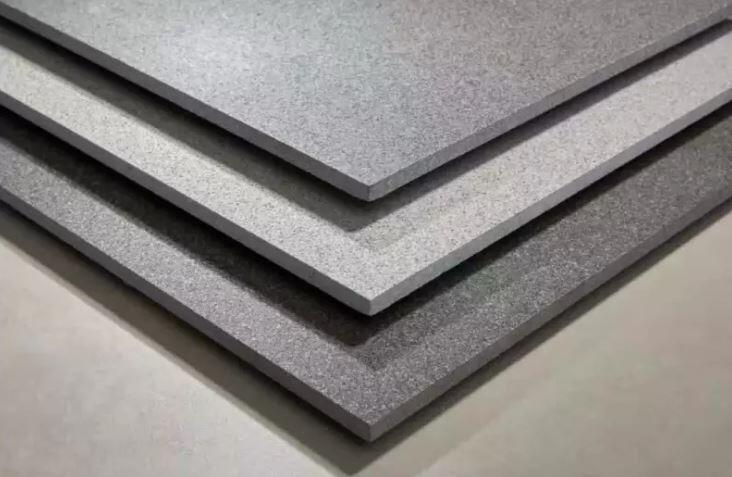
Granite tiles
Granite tiles are produced from the natural stone ‘granite’ and are very durable and aesthetically-pleasing tiles. Due to the fact that they are produced using natural materials, they have natural flecks and minor differences in shades and pattern. The structure of granite is crystalline, and it contains quartz, mica, and feldspar minerals. This particular mix of minerals creates the unique colors, textures, and pattern movement found in all the different varieties of granite. Granite tiles are very dense and resistant to wear and unnecessary damages.
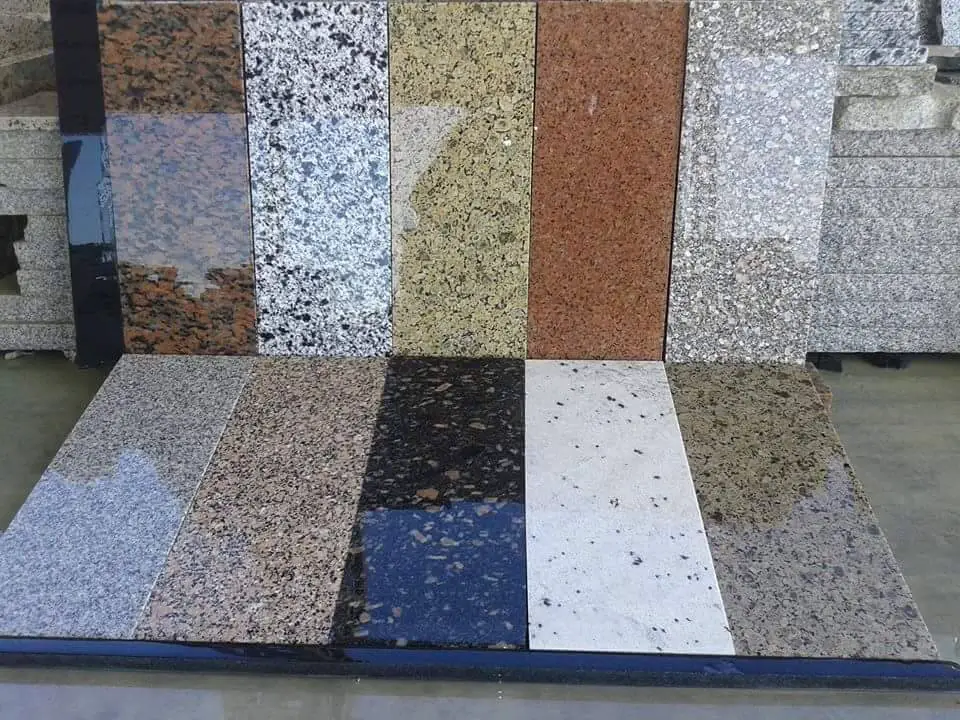
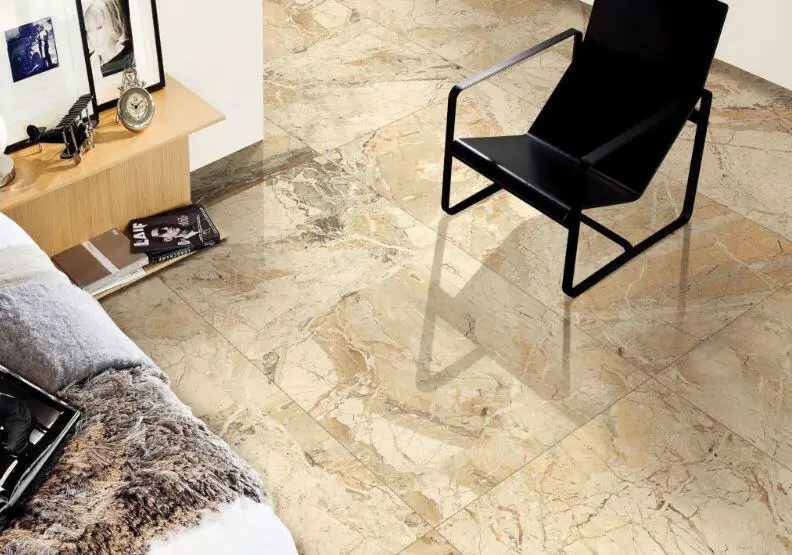
Marble tiles
Marble is a natural stone that is made by limestone’s metamorphic crystallization that results in the conversion of calcium carbonate into calcite crystals. Their natural composition makes them not to appear uniform but rather have ‘veins’ that are running in irregular patterns across the surface of the tiles. Marbles have high porosity but can be polished to shine, or the surface treated with a sealant. They are luxurious tiles and are actually more expensive. They require more maintenance and cleaning than other types of tiles.
Guidelines for quality tiling
A poorly done tiling work is an economical disaster. Therefore it is very necessary that adequate planning be put in place before any tiling work commences.
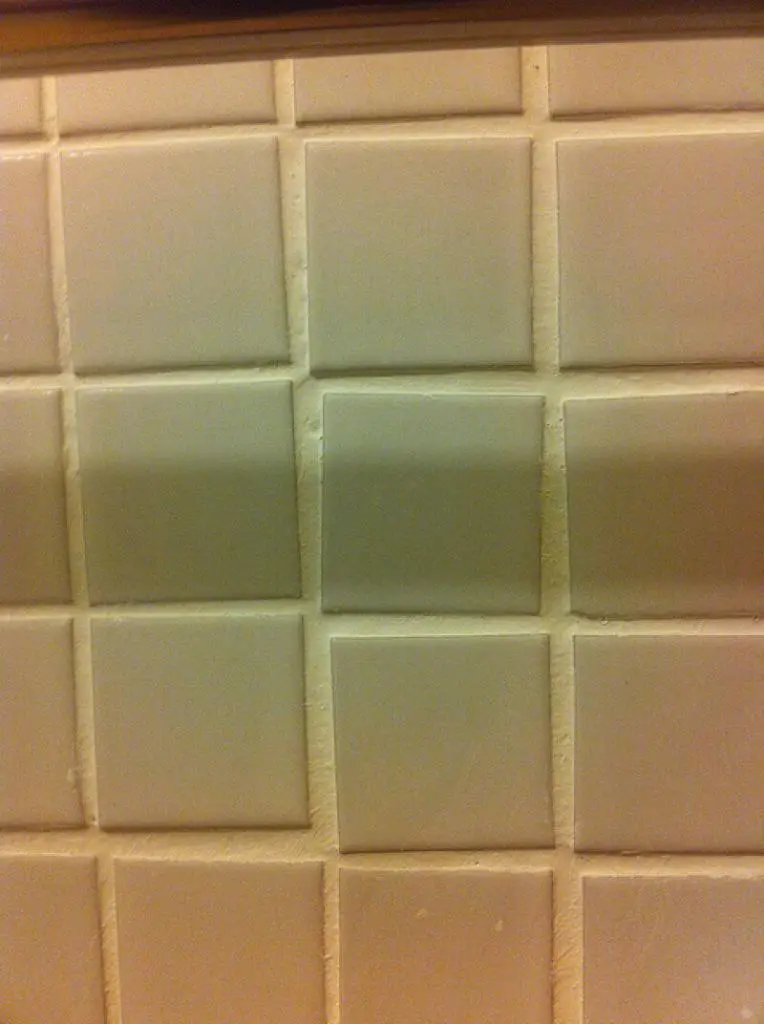
Have you ever gone into a building and instead of your mind being at rest, you will be wondering why the tiler did not follow a definite/regular pattern, or why the grout lines are misaligned? You could spend your whole time there trying to use your mind to fix the tiles so that they will be properly aligned. But that will not be possible. To fix the tiles properly, the existing one will have to be broken and a new one reinstalled at an extra cost.
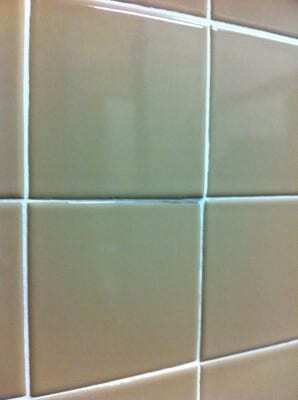
This is not a good thing because your mind should be relaxed – life has enough puzzles already! On the other hand, once you look at a tiling work and discover a regular pattern/balance, your mind stops evaluating the work in a distressing manner.
Here are the guidelines to follow in order to do good tiling work;
(1) Right quality of materials
This cannot be overemphasized. You should select and insist on the best materials. For instance, the tiles to be used should not be chipped at the edges or cracked prior to installation. Depending on the usage of the building and the anticipated human traffic, the appropriate tile thickness and type of tile should be specified.
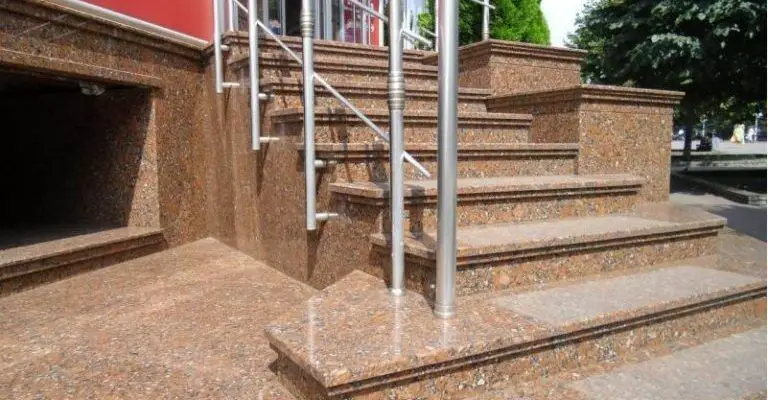
Full-body vitrified tiles or porcelain tiles will be fantastic for private sitting rooms, while granite tiles could be better for the entrance porch and other areas exposed to the weather or high traffic. Do not use tiles that would wear out easily or get discoloured when subjected to heavy traffic.
Also, it should be ensured that there are no factory defects on the tiles. It is possible to have unequal tiles (with about 1 – 2 mm difference in dimensions) in the same pack. Such tiles are usually problematic to tilers. Also, some tiles are curved in plan or discoloured when supplied. All defective tiles should be rejected. As a matter of fact, you should insist on rectified tiles. Tiles are also classified in grades, usually from grade 1 to grade 5. The proper grade of tile should be specified.
Furthermore, the tile gum (adhesive), fasteners, and cement used for laying the tiles should be of superior quality. The mixing of the cement/adhesive should be of adequate strength, the floor screeding should be standard, and fasteners (when employed) should be well installed.
(2) Workmanship
Tilers are in grades. Some tilers are more skilled than others in terms of carefulness, use of tools/equipment, experience, and commitment to quality work. Some tilers are so careless when cutting tiles that they cause misalignment of tiles. It takes a lot of patience and commitment to throw down a straight line of tiles along a corridor without any misalignment or uneven grouting space. It is possible to have a straight space of 3mm groove (grouting space) for a length of 50m in the hands of a good tiler.
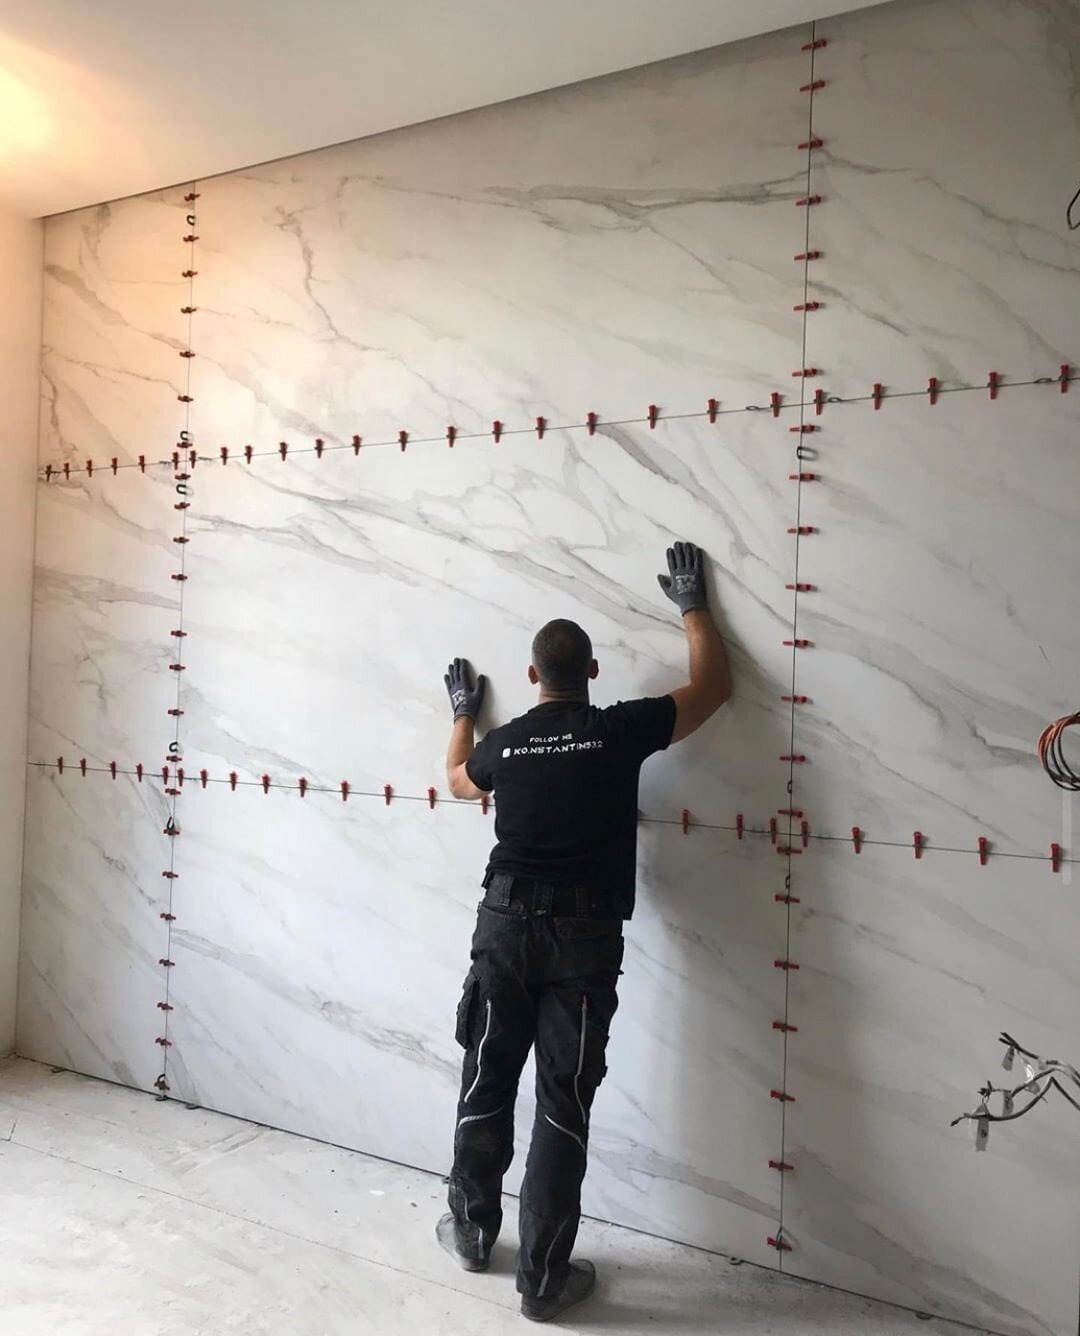
The tiler should also ensure that the tiles are very level, and not kicking at the joints. Where are openings or recesses for utilities, the tiler should ensure that he cuts neatly. For instance, the use of diamond tile hole cutters can be used for making holes neatly on tiles. The tiler should be patient on the job.
(3) Use the right tools
From experience, a lot of poor tiling jobs result from not having the right tools. For instance, there are some recesses that cannot be achieved properly using a manual tile cutter, but electric cutter. The tiler should ensure he has the right tools such as plumbs, spirit levels, laser levels, blue lines, spacers, cutting machines, diamond cutting discs/blades, diamond drill bits, tile trowels, rubber grout float, etc.

(4) Quality of supervision
No matter how good a tiler is, his work still needs to be supervised and adequately monitored. Tilers may be forced to do ‘management work’ such as going ahead to install a poorly cut tile due to fatigue or need for speed. The supervisor must watch out for situations like this, and ensure that the tiler sticks to the highest quality.
(5) Tiling Pattern/Layout Drawing
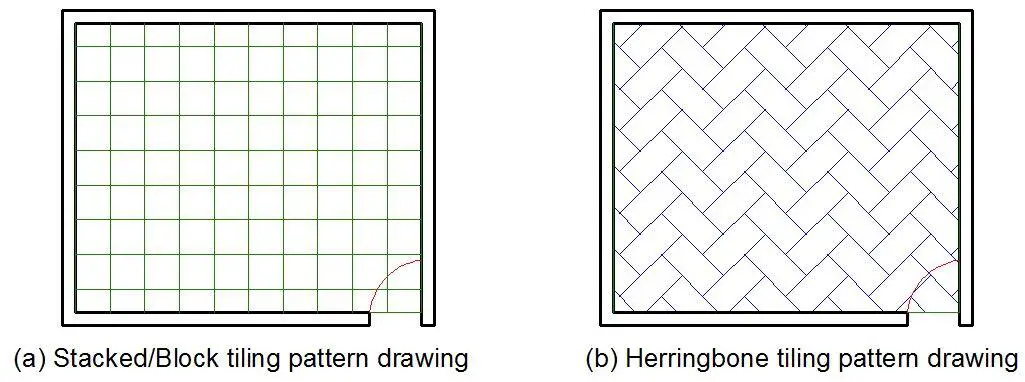
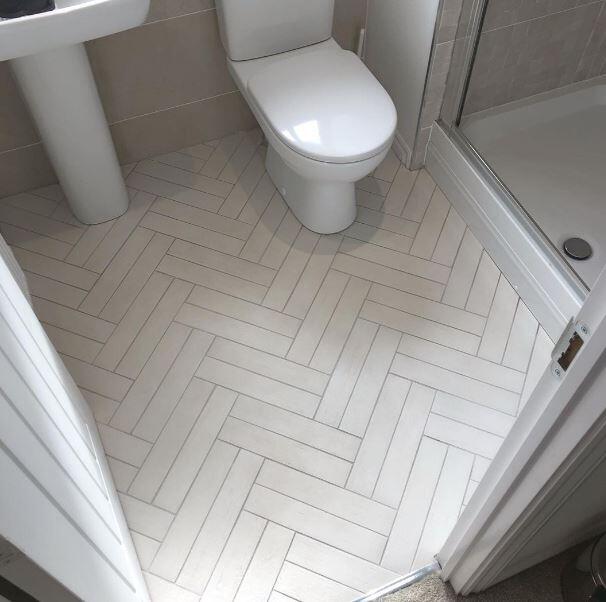
There are different tiling patterns as may be recommended by the architect. The common types of tiling pattern are;
- Herringbone pattern
- Brickbond (draft) pattern
- Block/stacked pattern
- Diagonal pattern
- Modular pattern, etc
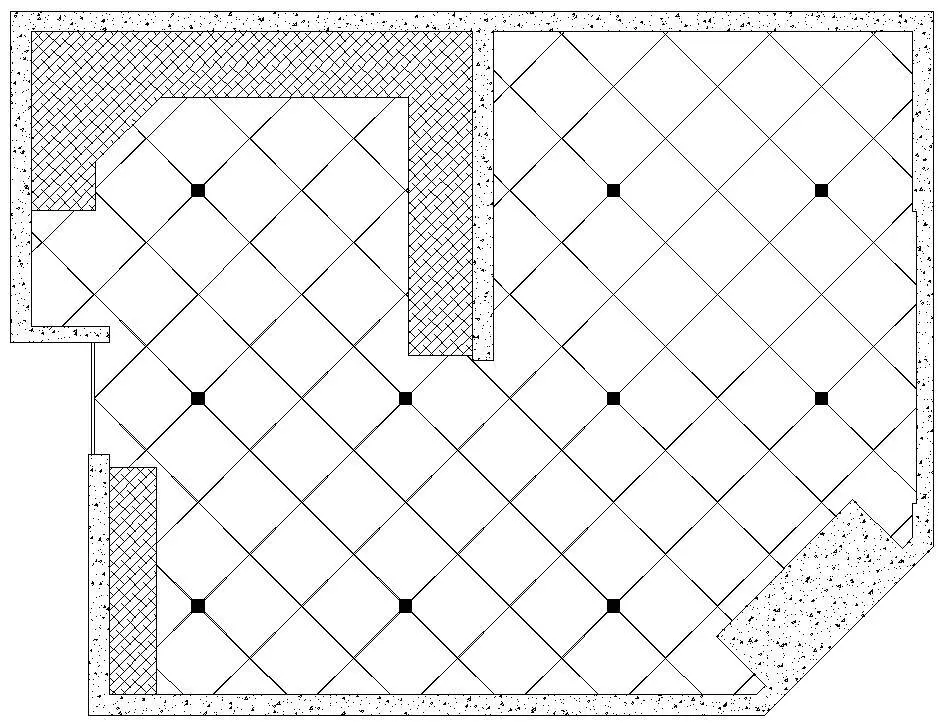
There should be a drawing that captures the tiling pattern, relative to the shape of the floor or wall being tiled. This gives the tiler and the contractors a good idea of what to do. The drawing should show the size and orientation of the tiles.
(6) Check for straightness of wall before commencing tiling work
This is particularly important because tiling exposes defective works such as lack of straightness of walls. Also, when the edges of the walls are not square, the tiling may not come out well. After checking for the straightness of the wall, the tiler and the supervisor should determine the margin of error, and adopt a corrective approach.
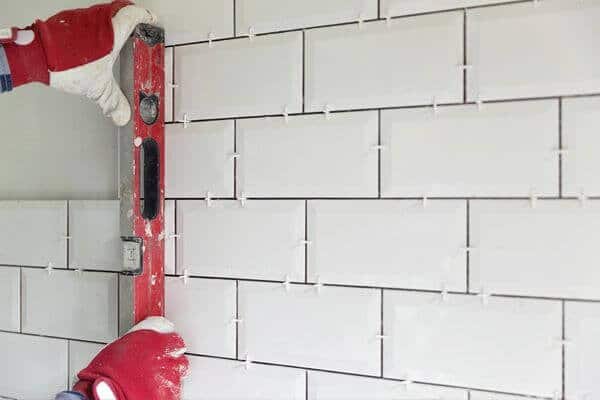
If the margin is small, it can be corrected by varying the thickness of the adhesive. But if it is too large, additional plastering works or demolition can be done to obtain the desired straightness. It is not good to try to manage the situation when the error is too large, because the finished tiling work will be adversely affected.
(7) Avoid small offcuts at the edges
It is usually very unpleasant to have offcuts less than 100 mm at the edge of walls or floors. In the first place, small offcuts are usually problematic and may lead to excess wastage. On the other hand, they are not pleasing to the eyes.
To achieve this, the tiler has some calculations to do, which usually involves finding the centrelines of the floor/wall to be tiled. Two things are involved, it is either the centreline of the tile plate coincides with the centreline of the floor (Figure 15b), or the groove (spacer/joint) between the adjacent tiles coincides with the centreline of the floor/wall (Figure 15a). Anyone that gives the bigger tile size at the edge should be adopted.
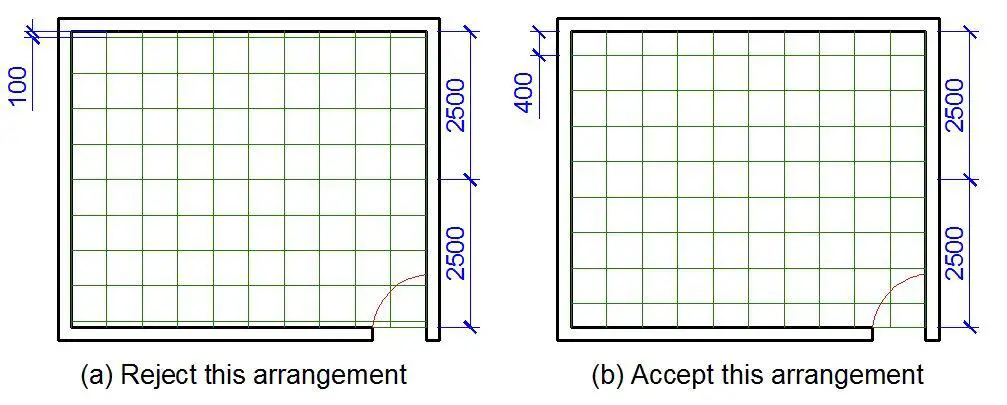
As you can see from Figure 15, option A gave an off-cut of 100 mm at the edges, while option B gave an offcut of 400 mm at the edges. Option B obviously looks better than option A. Tiny off-cuts at the edges do not usually look beautiful. Another advantage of this is that you will have equal offcuts at the two ends. This gives the tiling work a balanced look.
(8) Grouting
Grouting is almost as important as the tiling work itself. The grouting material should be non-expansive, and the grouter must be careful and skilled. For wall tiles, it is usually more beautiful when the grouting material does not fill up the groove completely. When the edge of the tiles can be seen, it is actually more attractive. Peradventure you desire to fill the groove completely, it must be very neat. The neatness of grouting is very important if the tiling must be beautiful.
Furthermore, the colour of the grouting cement must be carefully selected.
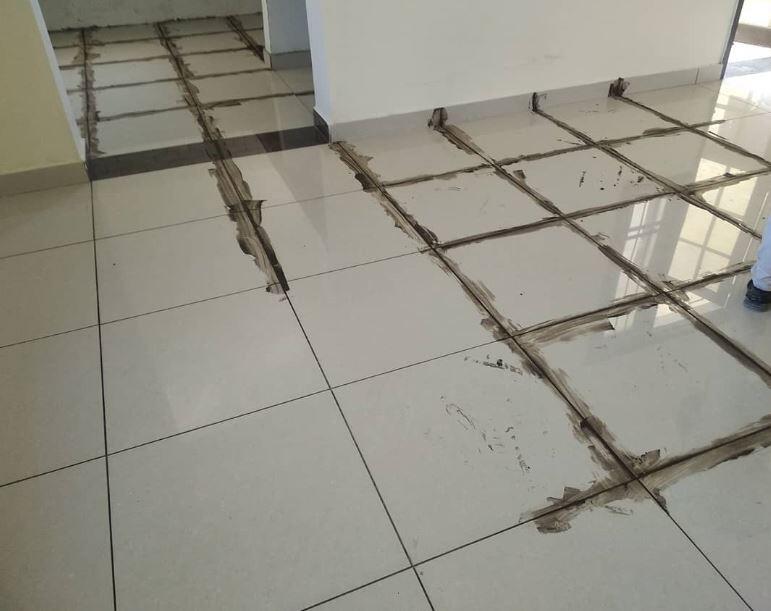
When tiles are to be closely joined (especially in granite or marble tiles), it is very important that the tiles close/join tightly. A little quantity of grouting cement can be used to cover other small gaps that might exist.
(9) Mitring and use edge trims
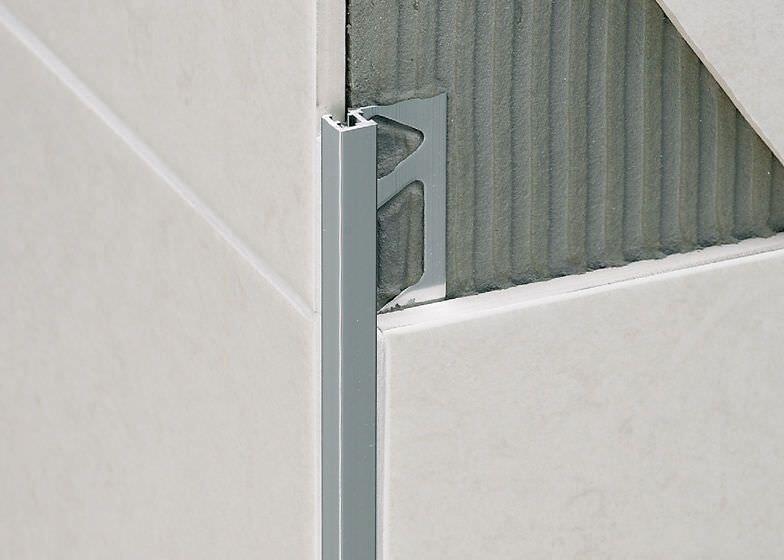
At exterior edges of elements like columns and walls, it always a good practice to mitre the tiles meeting at the edges so that the joint will close properly. The thickness of the tiles determine whether they can be mitred or not. When the tiles will not be mitred, suitable edge trims should be used. In areas where the edge of tiles must be exposed, it is better to expose the factory edge than the cut edge.
Edge trims can be made of aluminium, stainless steel, or plastics.
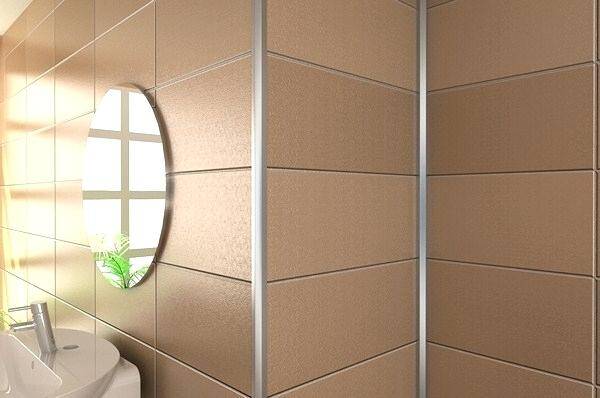
These guidelines when followed usually results in a good tiling work. Feel free to add yours at the comment section.
Join our Facebook community at
www.facebook.com/Structville



Good and informative. Thanks for your efforts and kindness.
Nice Content Thanks for sharing
Great post, and great website. Thanks for the information!
This is very informative. Thank you for sharing.
Thank you for sharing this article about basic principles of floor and wall tiling. This will be a great reference and a helpful way for future plans.
hello, please can you give an example of the tile arrangement calculations in a rectangular room?
These tiling principles are so important, especially when remodeling my bathroom. Proper installation ensures both aesthetics and functionality. It’s also worth mentioning that choosing the right grout color can make a big difference in the overall look.