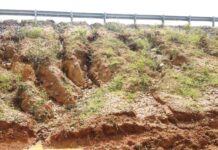
Soil nailing is an in-situ technique for reinforcing, stabilizing, and retaining excavations and deep cuttings by introducing relatively small, closely spaced inclusions (typically steel bars) into a soil mass, whose face is then stabilized locally.
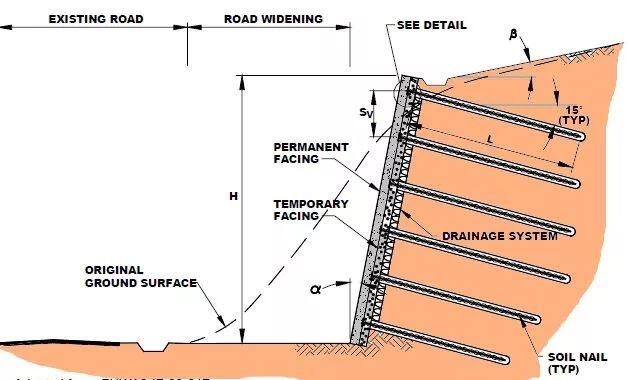
The result of soil nailing is a zone of reinforced ground that serves as a soil retention system. Soil nailing is utilized for temporary or permanent excavation support, tunnel portal stabilization, slope stabilization, and repair of retaining walls.
Applicable Soil Types
Prior to the installation of a series of nails and facing, the procedure requires the soil to be able to temporarily stand on its own on a near-vertical face. Consequently, cohesive soil or weathered limestone is best suited for soil nailing. The installation of soil nails is difficult in cohesionless granular soils, soft plastic clays, and organics/peats.
In order to successfully employ soil nailing on weathered rock, the weathering must be uniform across the rock and free of any planes of weakness. A high groundwater table, cohesionless soils, soft fine-grained soils, extremely corrosive soils, loess, loose granular soils, and land that is subjected to recurrent freeze-thaw action are all examples of soils that are not suitable for soil nailing.
Equipment
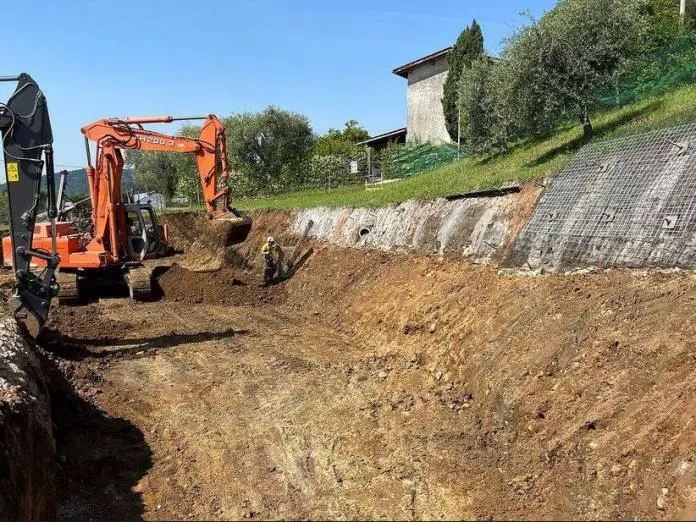
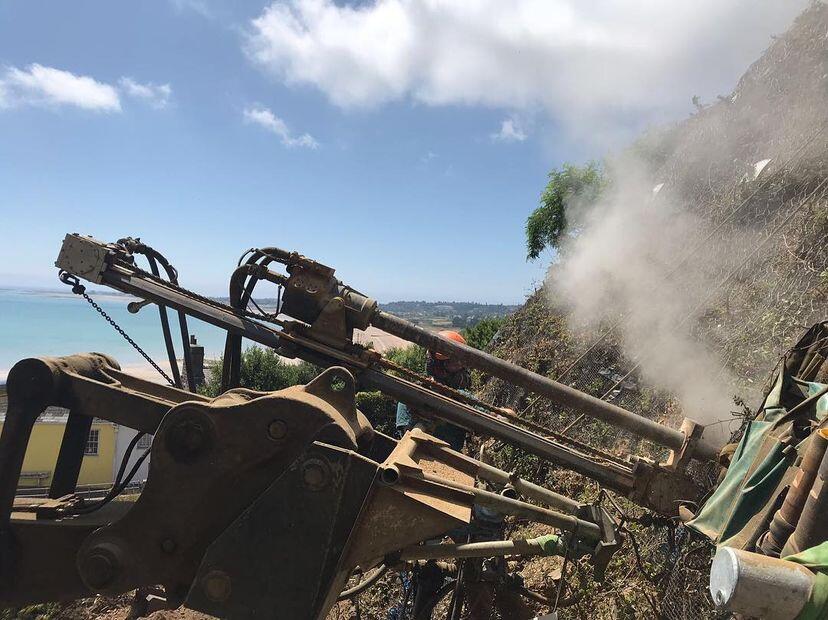
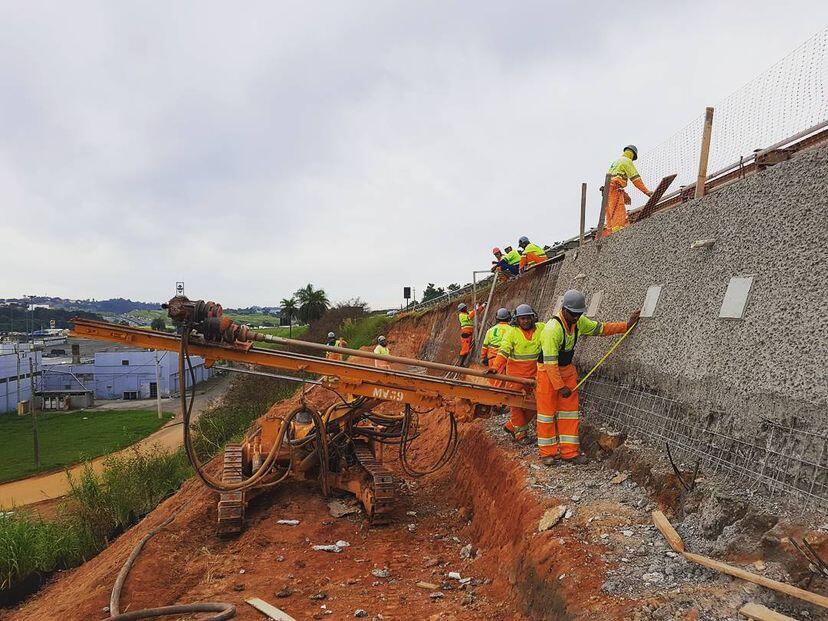
Soil nailing typically requires the use of earth-moving equipment (such as a dozer or backhoe) to excavate the soil, a drill rig to install the nails, a grout mixer and pump (for grouted nails), and a shotcrete mixer and pump (to stabilize the face with shotcrete).
Procedure
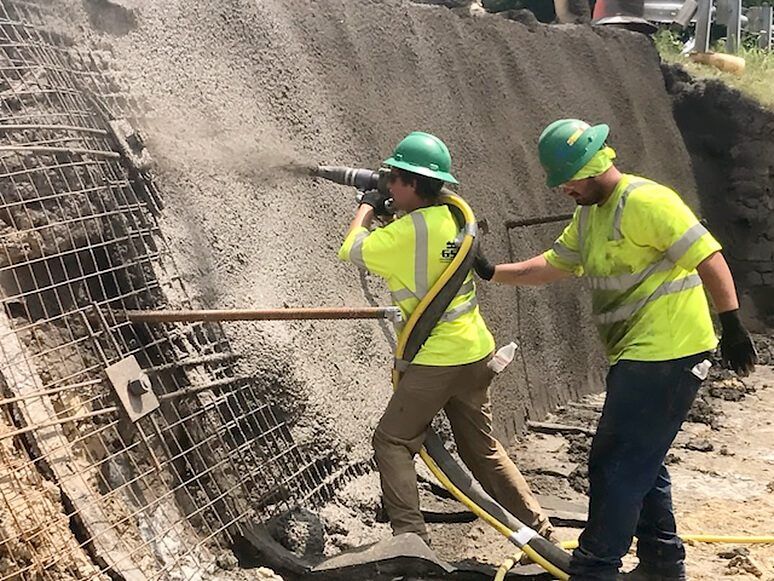
The top-down method is usually employed in the construction of a soil nail excavation support wall. Typically, earth-moving machinery (such as a dozer or excavator) excavates the soil in increments of 3 to 6 feet (1 to 1.8 meters). Then, a drill rig is utilized to drill and grout the nails into position, typically on 3 to 6-foot (1 to 2-meter) centres. Following the installation of each row of nails, the excavated face is typically stabilized by affixing a welded wire mesh to the nails and then applying shotcrete.
Materials
Typically, soil nails are steel reinforcing bars, but they can also be steel tubing, steel angles, or high-strength fibre rods. Typically, grouted fasteners are installed with a Portland cement grout slurry. The facing can be prefabricated concrete or steel panels but is typically reinforced shotcrete with welded wire mesh, rebar, or steel or polyester fibres.
Design
Soil nails are designed to increase the apparent cohesion of a soil mass by transmitting the tensile forces generated by the inclusions into the ground. The frictional interaction between the soil and steel inclusions restrains the movement of the soil. The primary engineering concern is to ensure that the ground–inclusion interaction can effectively restrain ground displacements and secure structural stability with an adequate safety factor.
There are two primary types of design techniques:
- Limit equilibrium design methods
- Working stress design approaches
The following factors will influence the design of soil nailing:
- Strength limit: The point at which probable failure or collapse occurs is known as the limit state.
- Service limit: The limit state at which excessive wall deformation results in the loss of service function.
- Length and height of the retained earth.
- The vertical and horizontal spacing of the soil nails.
- The inclination of the soil nails
- Geotechnical properties of the soil.
- Length, diameter, and maximum force of the nail.
- Drainage, frost penetration, wind- and hydrostatic-induced external loads.
Generally, the walls of soil nails are not designed to withstand water pore pressures. Therefore, drainage systems, such as geotextile facing or drilled-in-place relief wells and perforated plastic collection piping, are incorporated into the wall. Also crucial is surface drainage control above and behind the retaining wall.
When an existing structure is adjacent to the top of a soil nail wall, extreme caution is required. As the soil nail-reinforced mass stabilizes under strain, it tends to deflect slightly. This movement may result in structural damage to the adjacent building.
Quality Assurance and Quality Control
The locations and lengths of the nails must be monitored and recorded. Additionally, the grout used in the installation of grouted nails can be sampled and tested to ensure that it exceeds the specified strength. Test nails can also be subjected to tension tests to corroborate that the design bond has been achieved.
Advantages and Disadvantages of soil nailing
The following are a few benefits of employing soil nails:
- They are very useful in constrained sites with limited access.
- Less damage is done to the environment.
- They may be installed quickly and easily.
- Fewer materials and shoring are used.
- They can be applied to new buildings, temporary structures, or remodelling projects because they are adaptable enough.
- There are no restrictions on height.
A few drawbacks of employing soil nails are as follows:
- For places with a high water table, they are unsuitable.
- High soil nail density may be necessary for soils with poor shear strength.
- They are unsuitable for long-term use in delicate and large-scale soils.
- Expert contractors are needed.
- Large-scale 3D modelling might be necessary.

